Gramophone Stepper Motor Conversion
Introduction
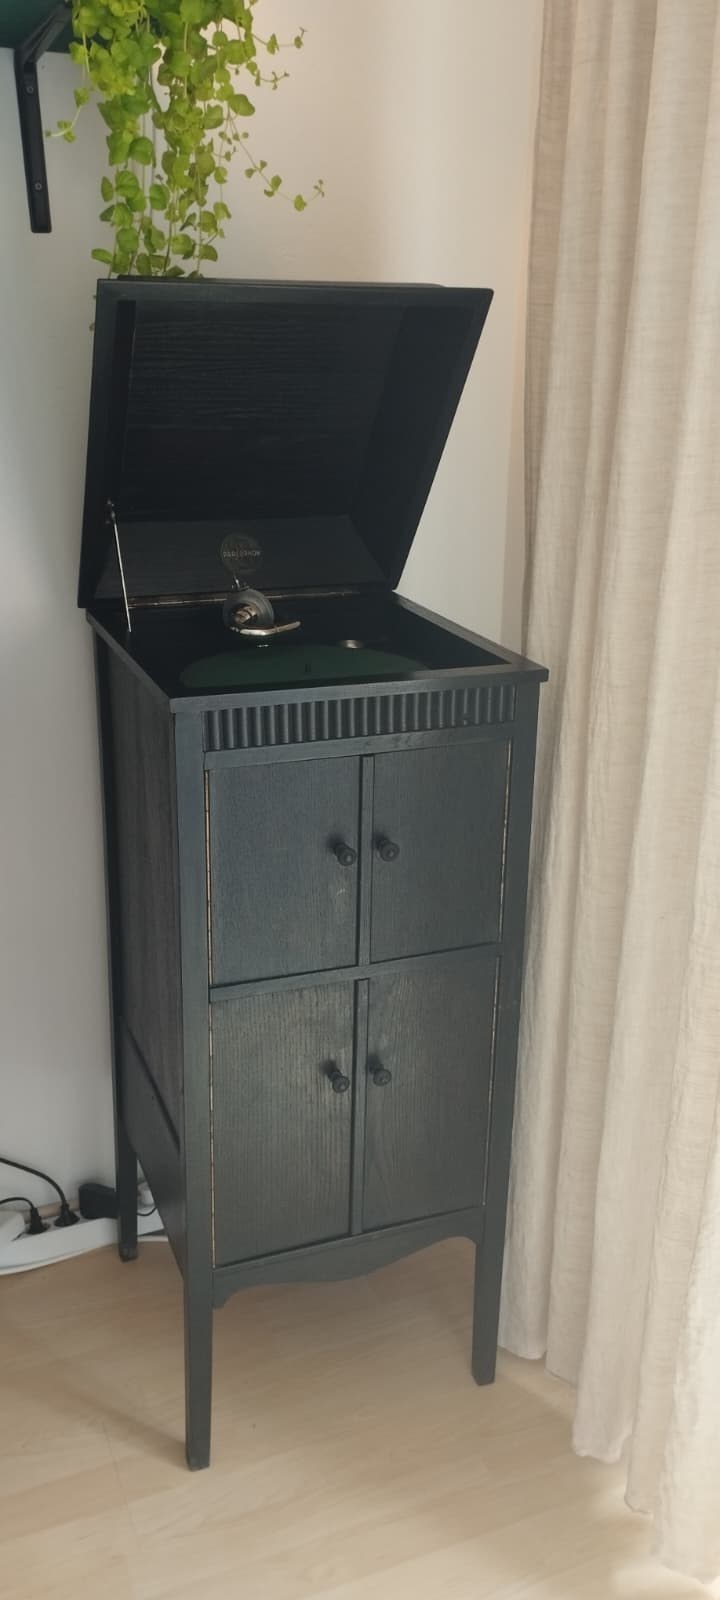
This project documents the conversion of an old spring-driven gramophone to an Arduino-controlled stepper motor drive. It is not intended as a modern Hi-Fi rebuild, nor as a conversion for vinyl records. The aim was much more pragmatic: to keep an existing gramophone usable after the original spring motor had failed.
The gramophone still plays only 78 rpm shellac records, using the original acoustic playback principle. The main change is the drive system underneath the turntable. Instead of winding a spring motor by hand, the platter is now driven by a NEMA 17 stepper motor controlled by an Arduino Nano. This allows a more stable and adjustable rotational speed while preserving the general character and use of the machine.
The conversion is meant as a practical repair and experimentation project rather than a historically correct restoration. The original mechanical motor was not discarded entirely; the approach was chosen to keep the modification understandable, serviceable and, as far as possible, reversible.
-> Download the 3D print files (may or may not fit your gramophone)
The Original Spring Motor Problem
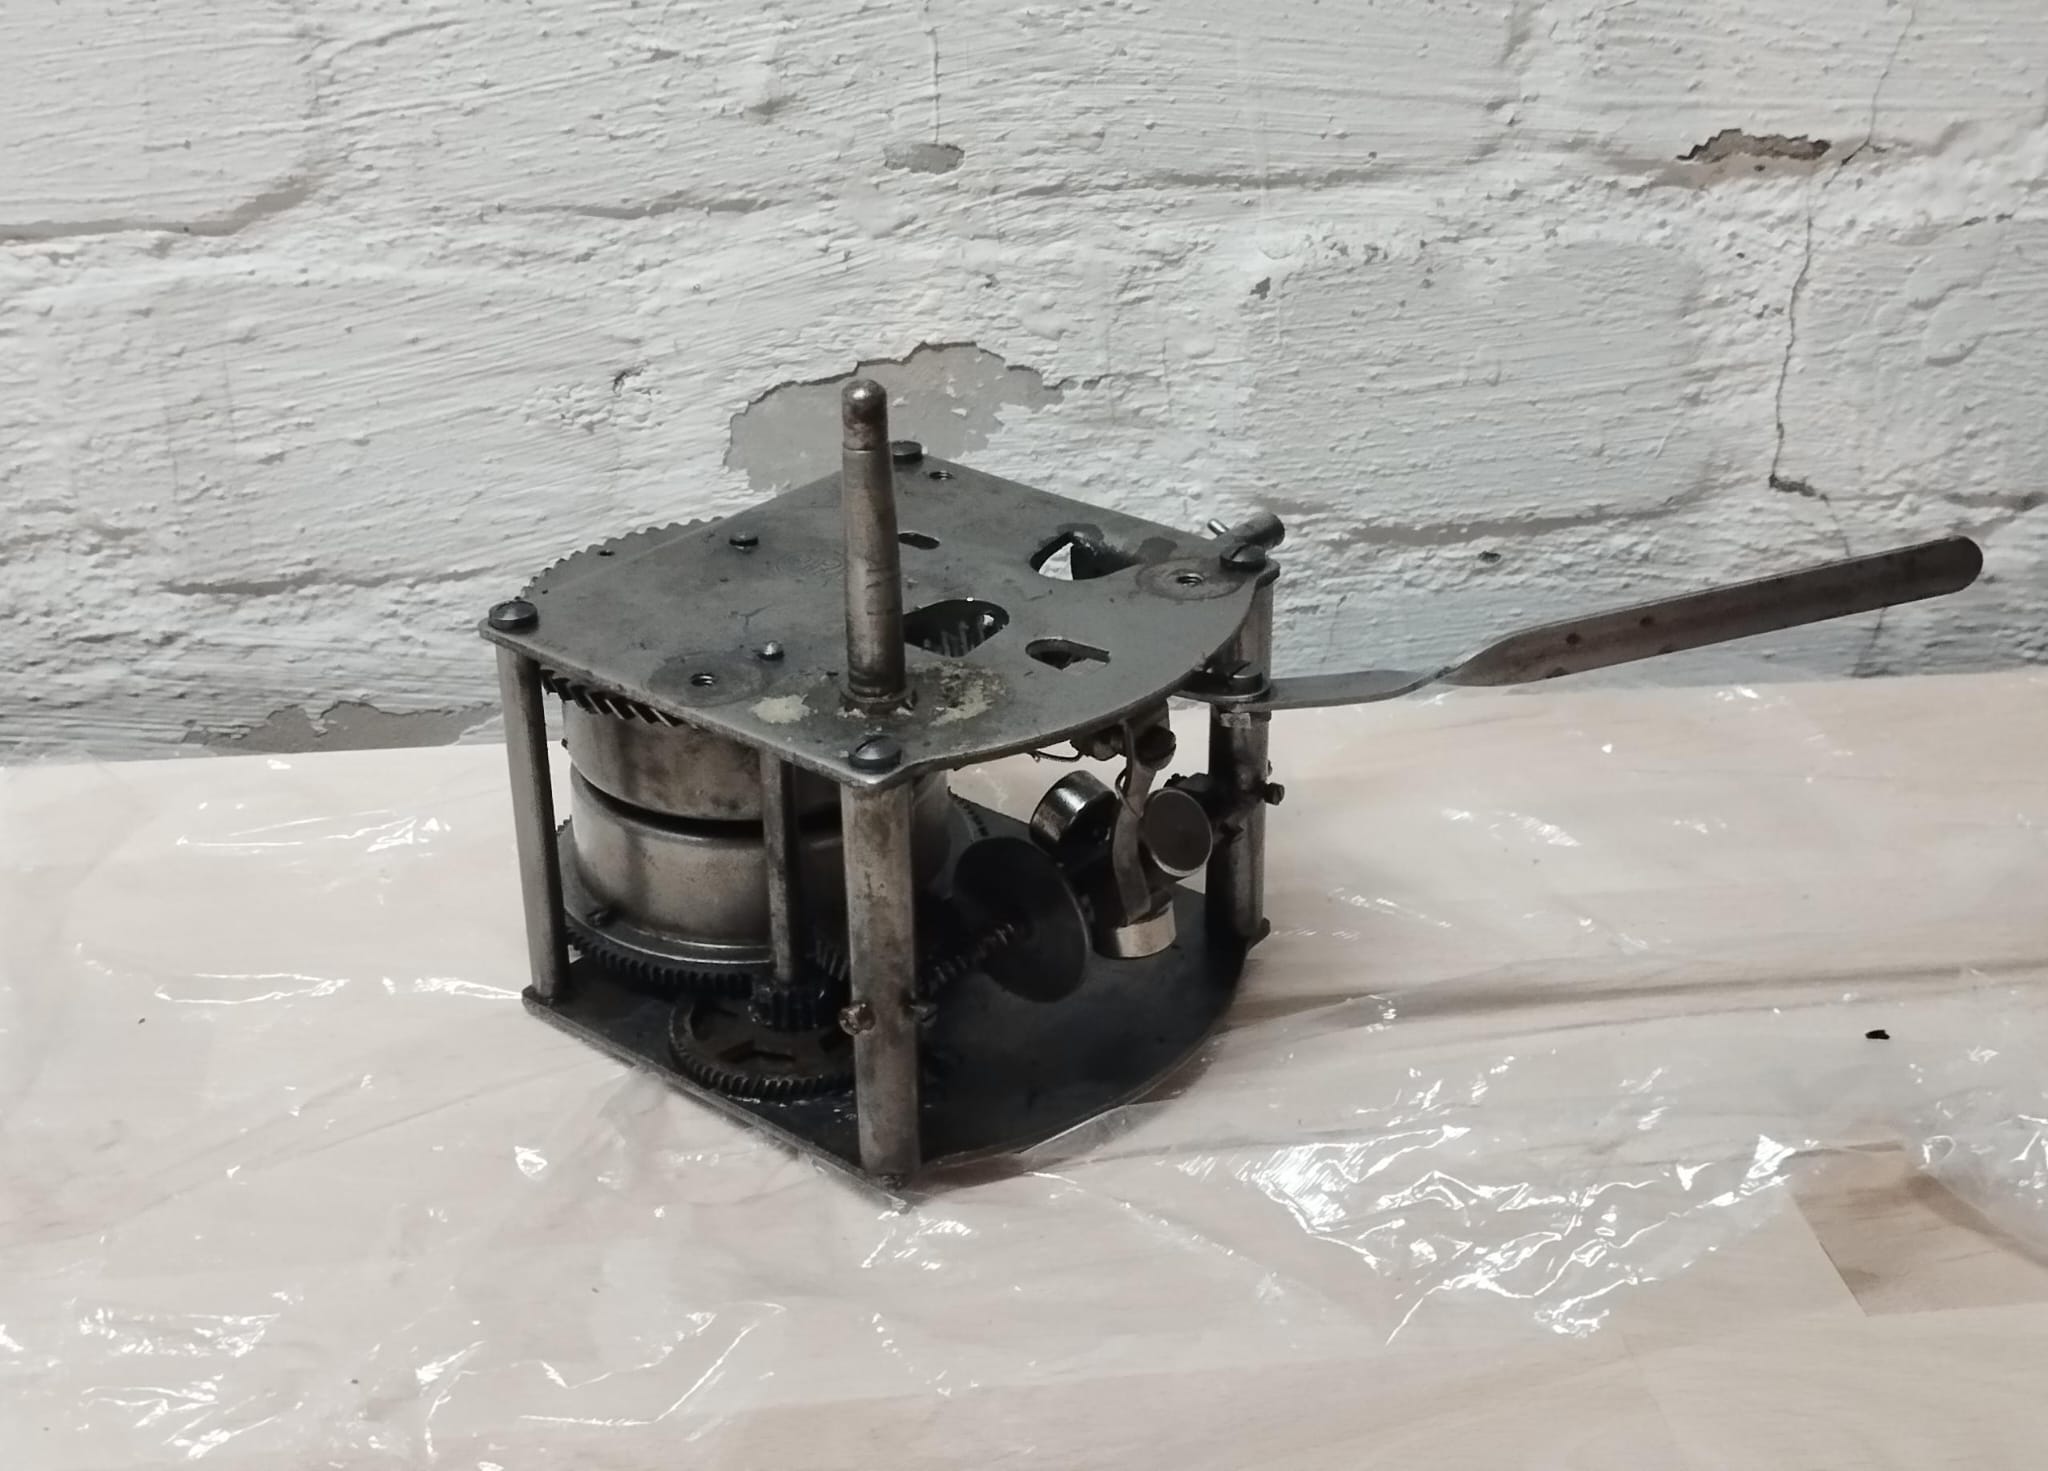
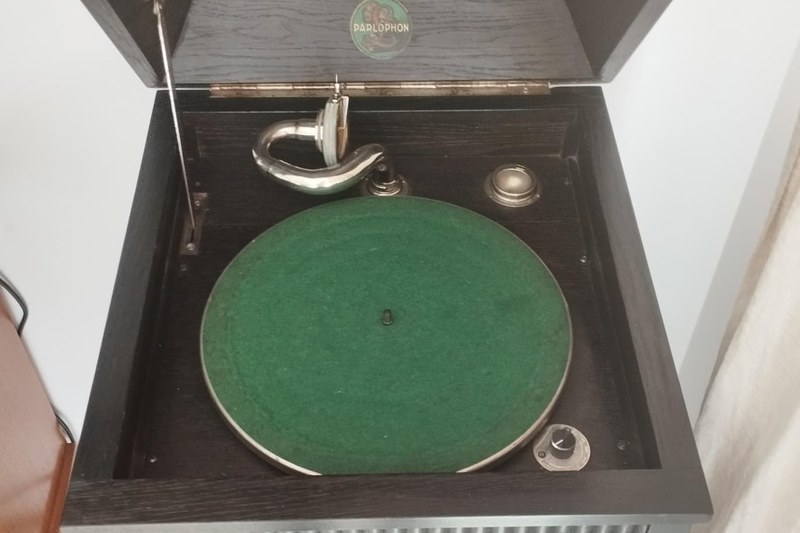
The gramophone originally used a conventional wind-up spring motor. When wound by hand, a steel mainspring stored the energy needed to drive the turntable through a gear train and governor.
In this case, the spring motor no longer worked properly because the spring itself was defective. Repairing or replacing it would have been possible, but inconvenient, potentially costly and less practical than using parts I already had available.
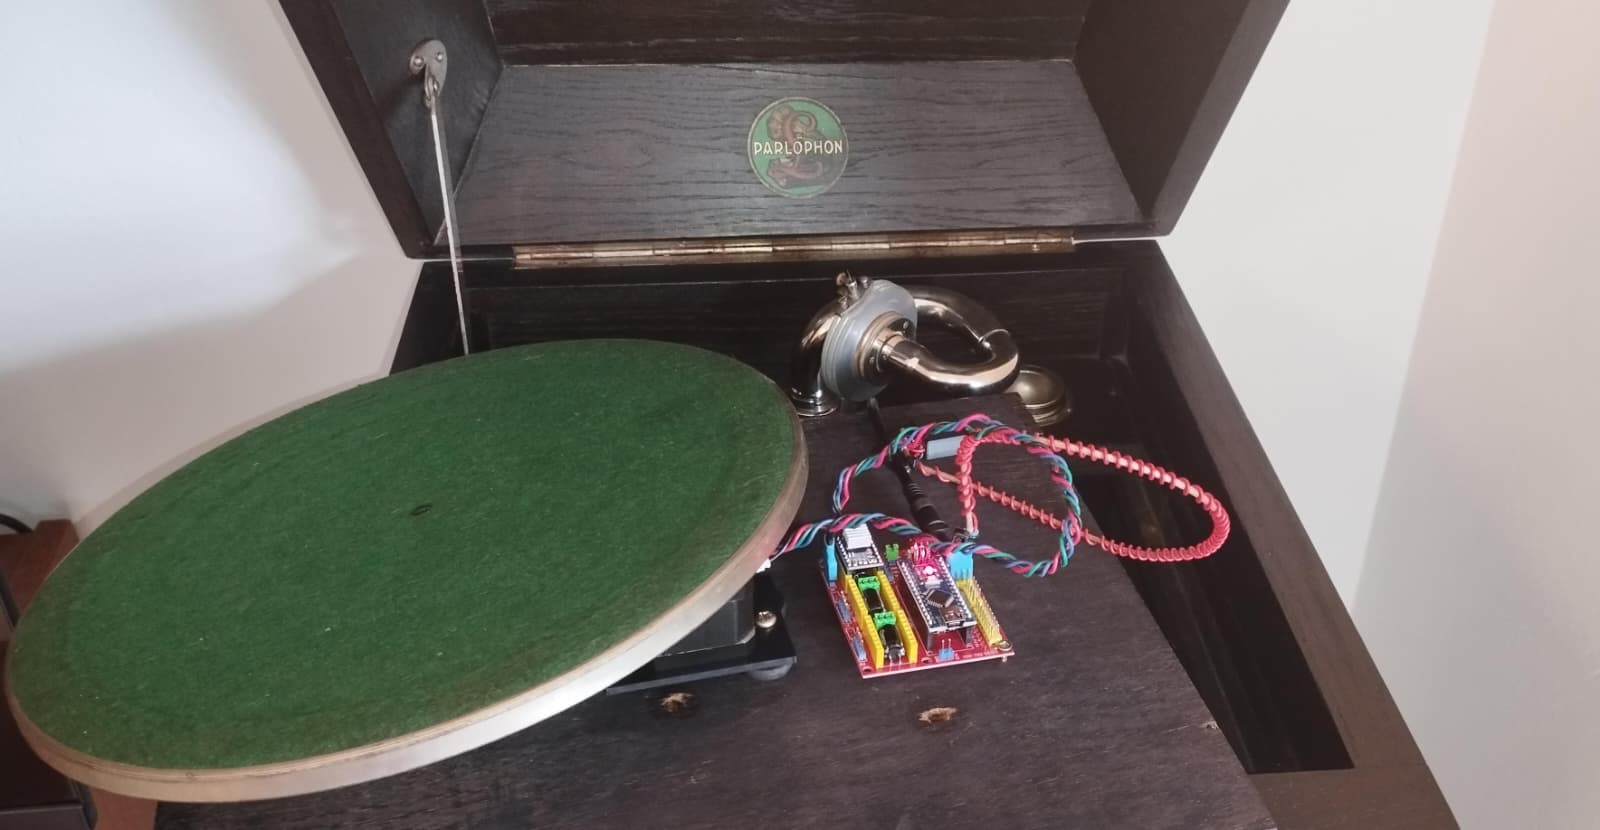
I therefore replaced the spring drive with a simple electric system: a NEMA 17 stepper motor, an Arduino Nano, a stepper driver and a potentiometer for speed adjustment. The gramophone remains an acoustic machine for 78 rpm shellac records; only the platter drive has been changed.
Hardware Used
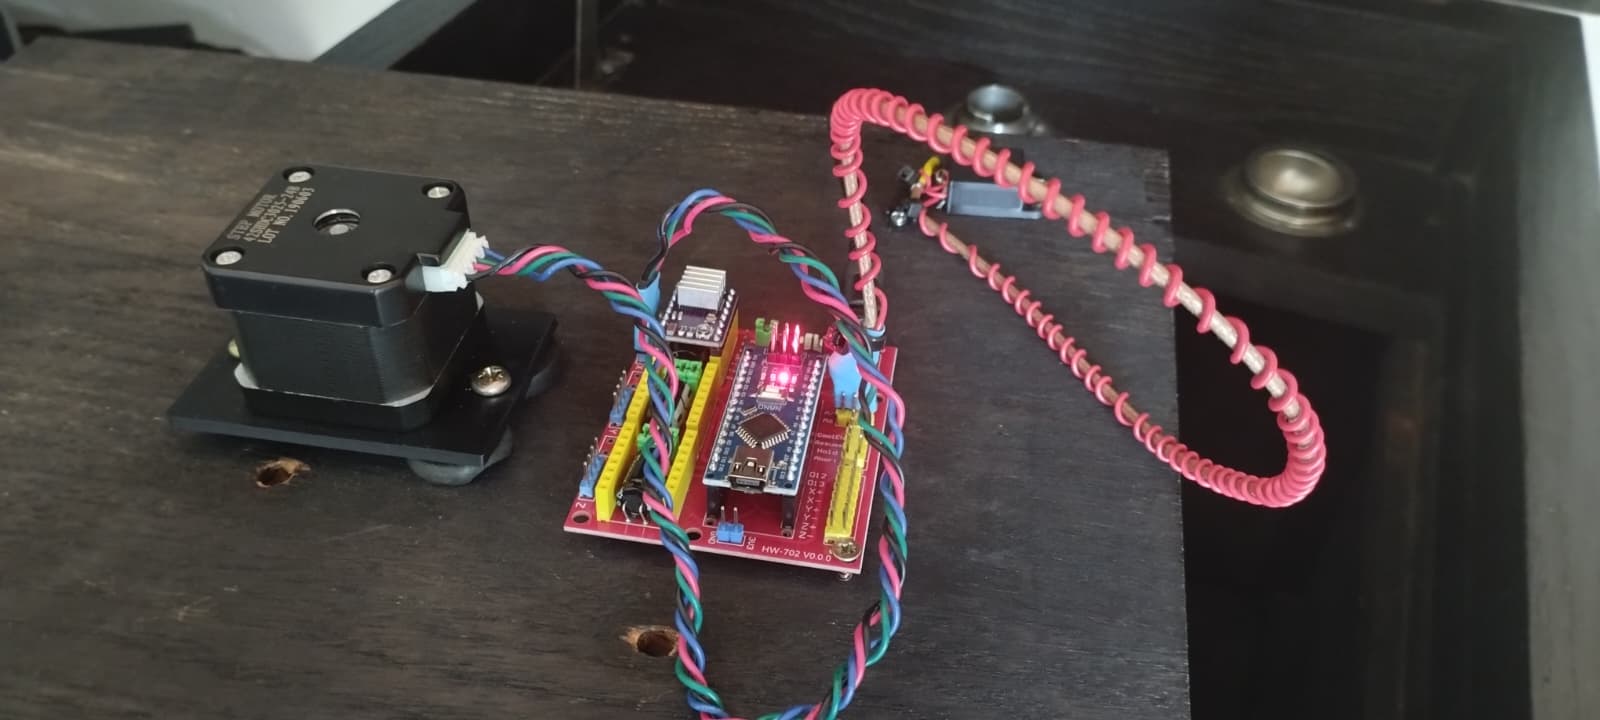
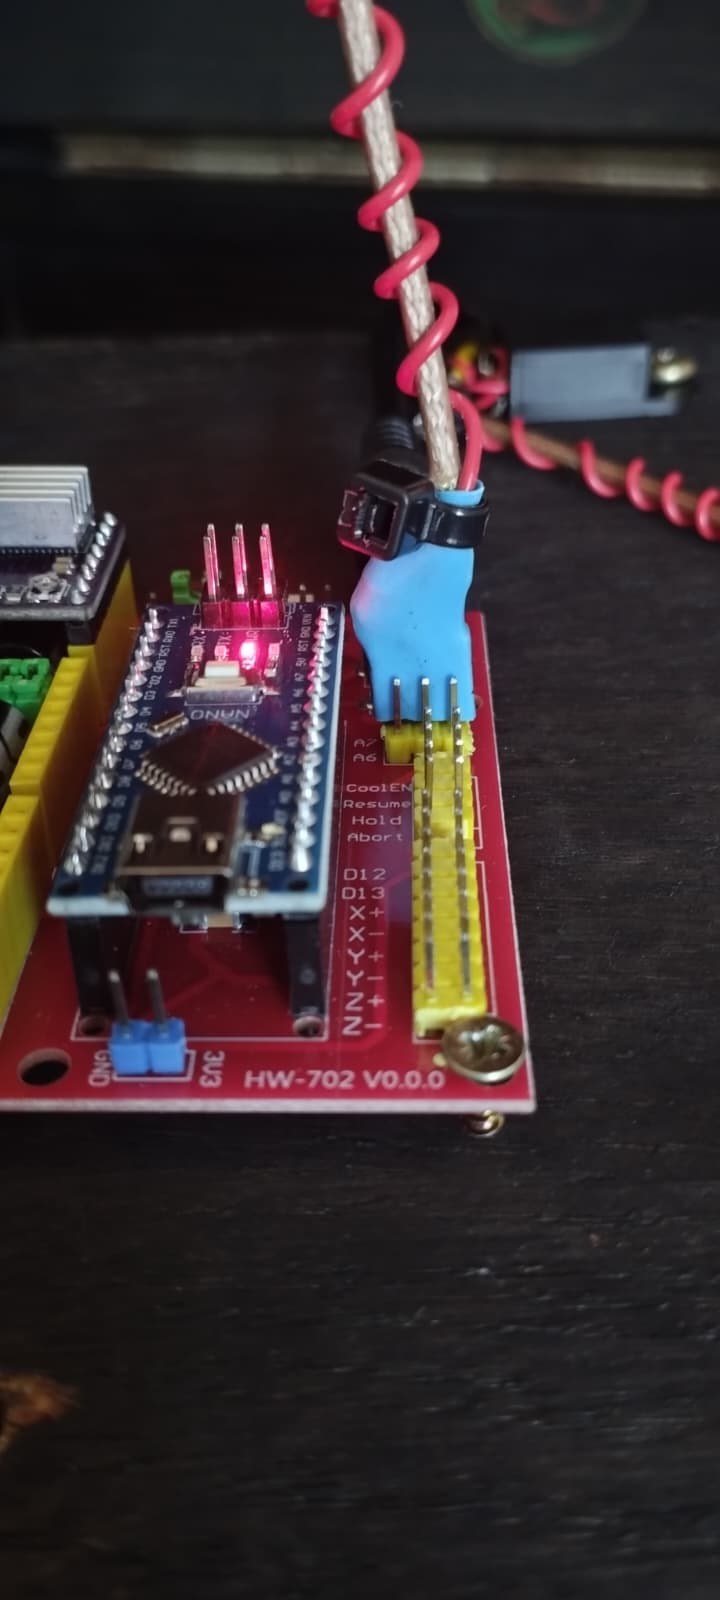
The electronic control system is based on an Arduino Nano mounted on a CNC Shield V4. Only one stepper driver slot is used, because the project requires only one motor axis. The motor is a bipolar NEMA 17 stepper motor connected to a plug-in stepper driver module.
The current setup uses the following main components:
- Arduino Nano
- CNC Shield V4 for Arduino Nano
- NEMA 17 bipolar stepper motor
- DRV8825-style STEP/DIR stepper driver module
- Linear potentiometer for speed adjustment
- 10 V DC power supply for the motor side
- Mechanical coupling between motor and turntable drive
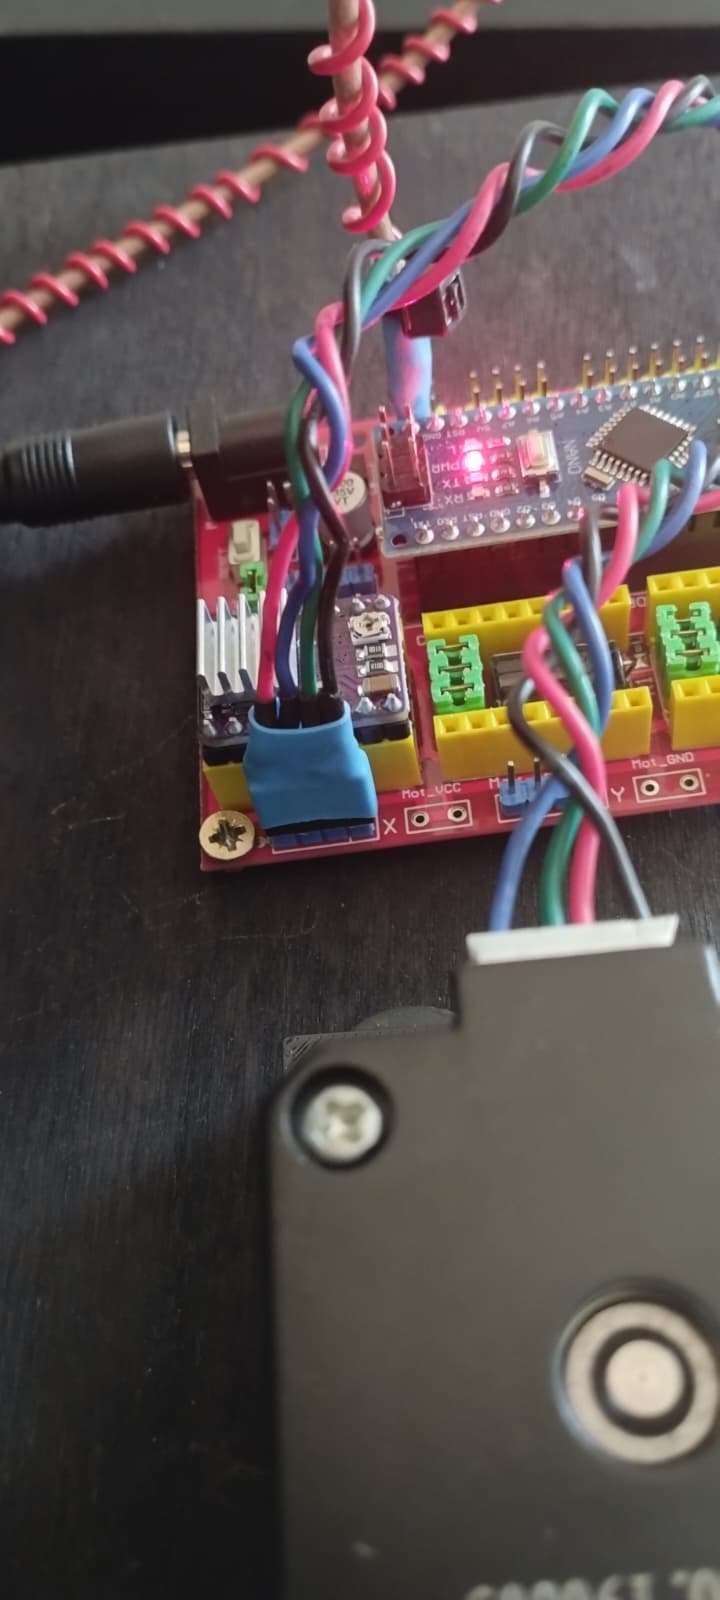
The stepper control signals are connected through the CNC Shield. In my setup, the pin assignment is:
DIRon Arduino pinD2STEPon Arduino pinD5ENABLEon Arduino pinD8
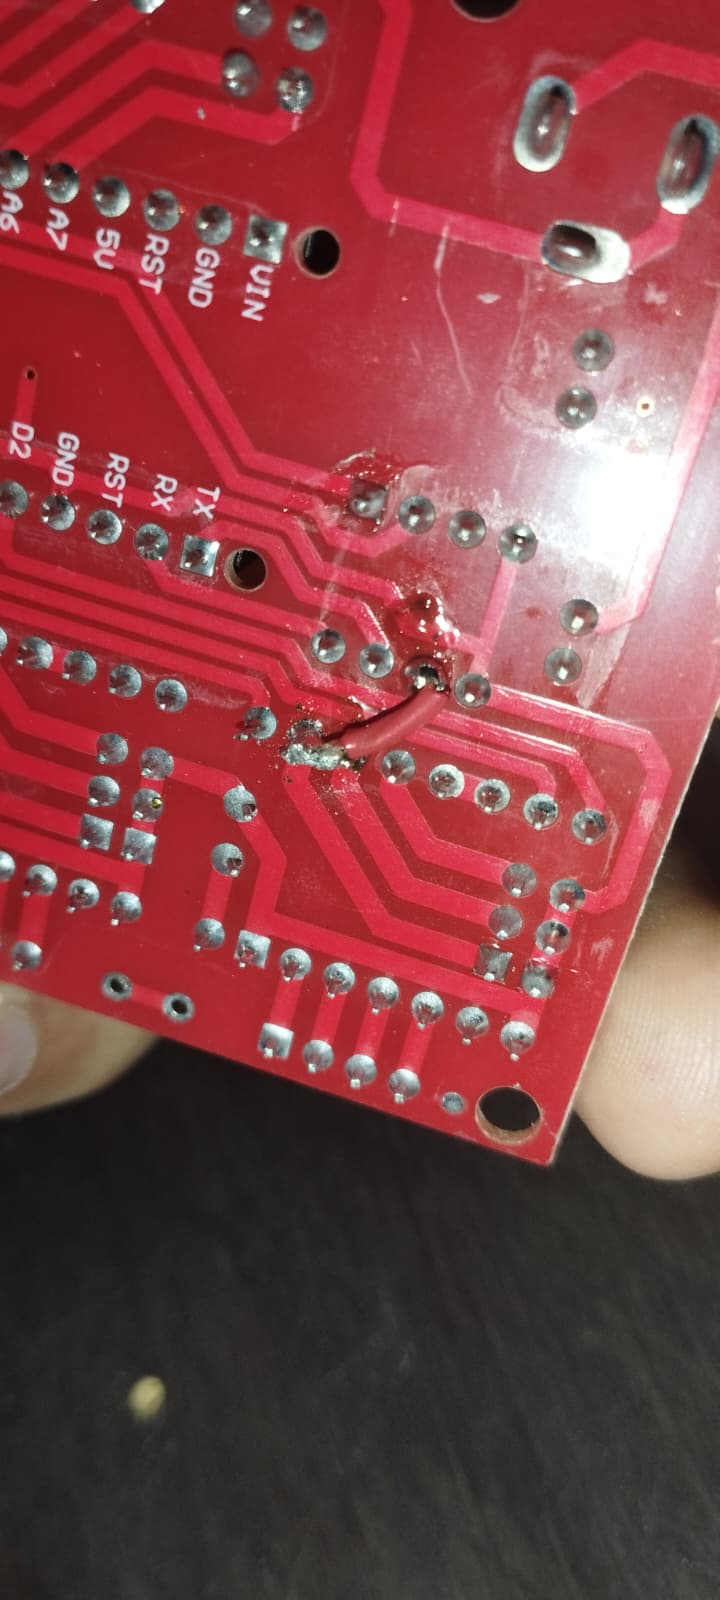
Since the CNC Shield has a design fault, the M0 and M1 pins of the stepper driver board had to be bridged to 5V to set it to the correct 1/8 stepping mode. Make sure to remove the jumpers on these pins to prevent a short circuit!
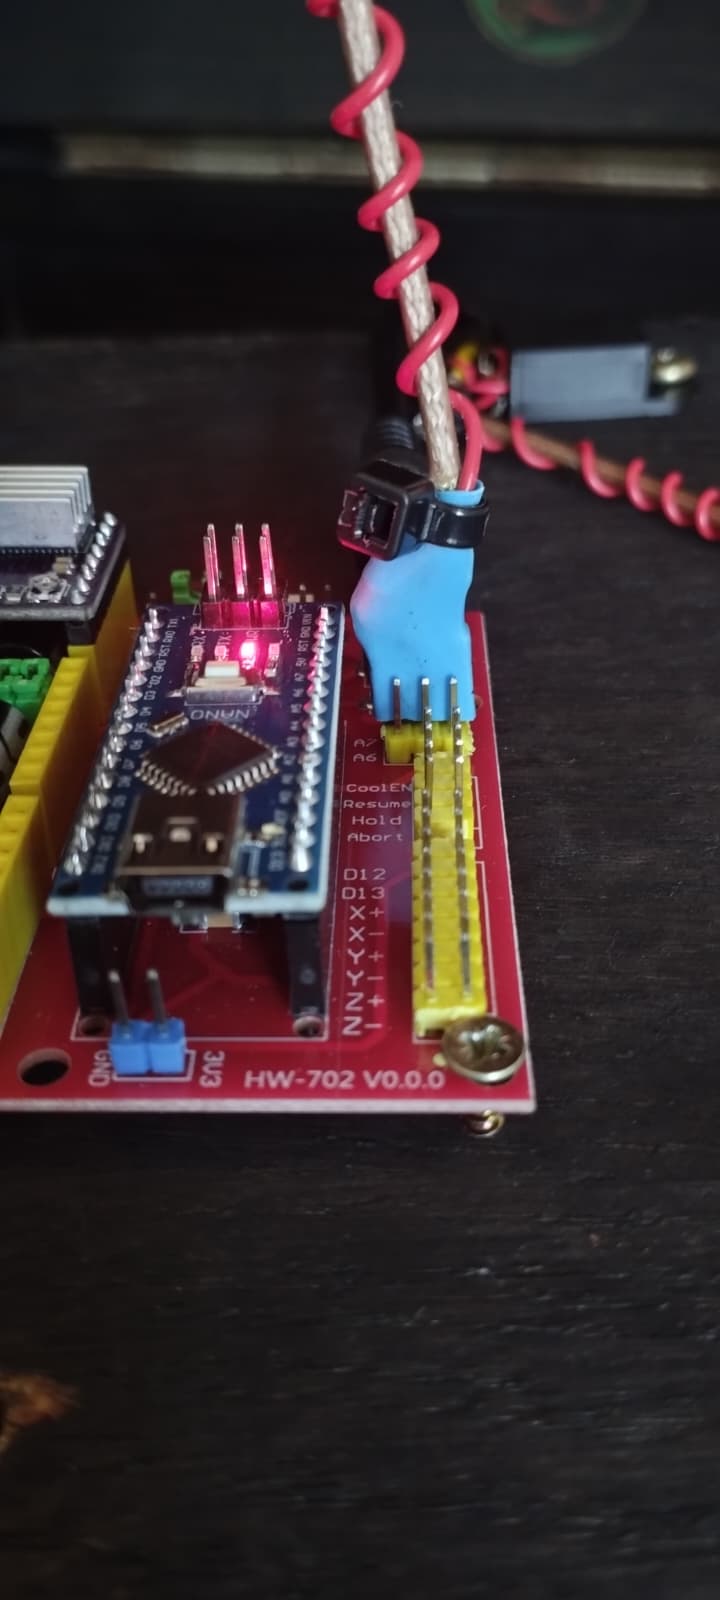
The potentiometer is connected as a simple voltage divider:
- one outer pin to
5 V - the other outer pin to
GND - the center wiper pin to
A7
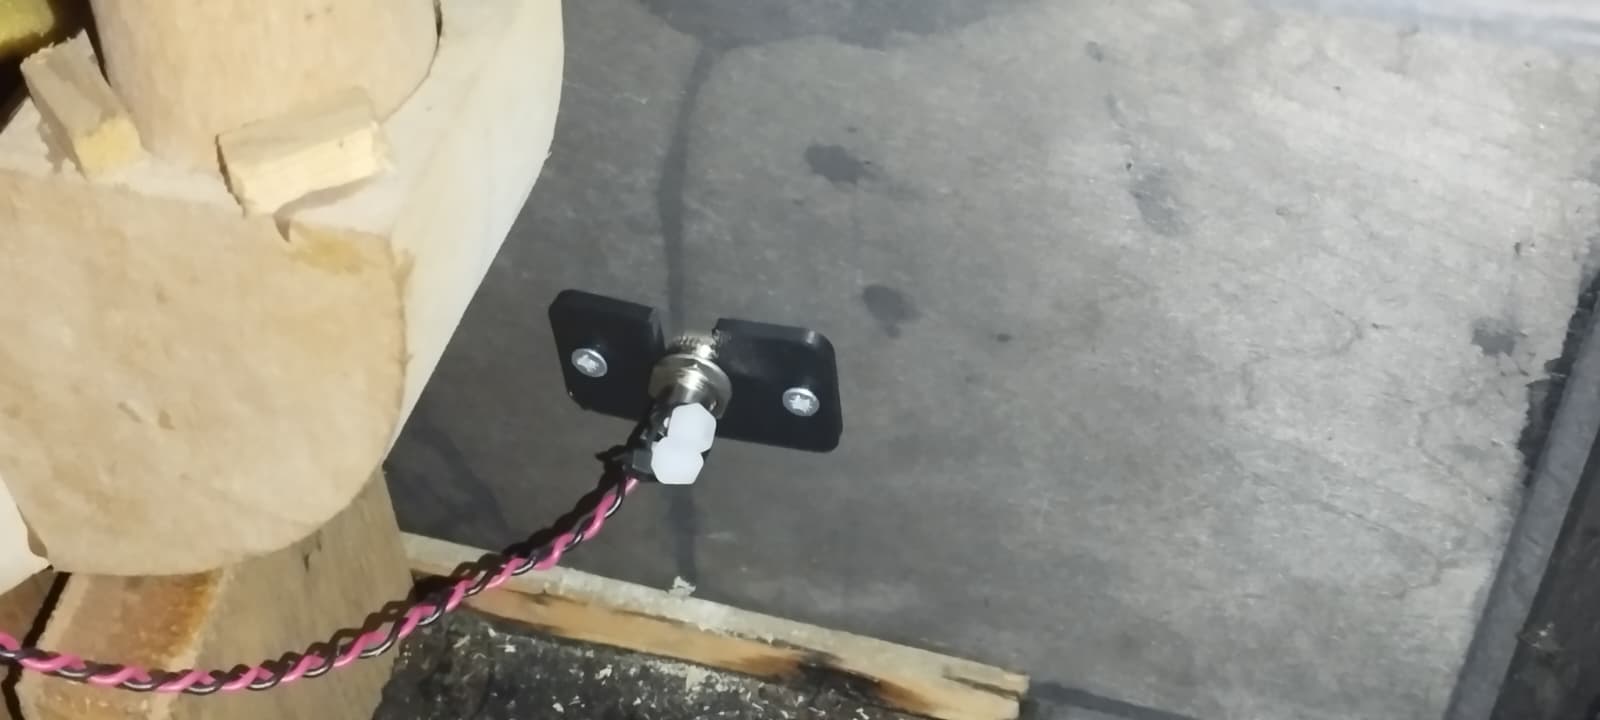
The motor supply is 10 V. This is connected to the motor power input of the CNC Shield. The Arduino Nano may also be powered from the same 10 V source through VIN.
The motor wires must be connected as two correct coil pairs. With a bipolar stepper, one coil must go to 1A/1B and the other coil to 2A/2B. If the pairs are mixed, the motor will usually only vibrate or make noise instead of rotating. The safest method is to identify the two coil pairs with a multimeter before connecting the motor.
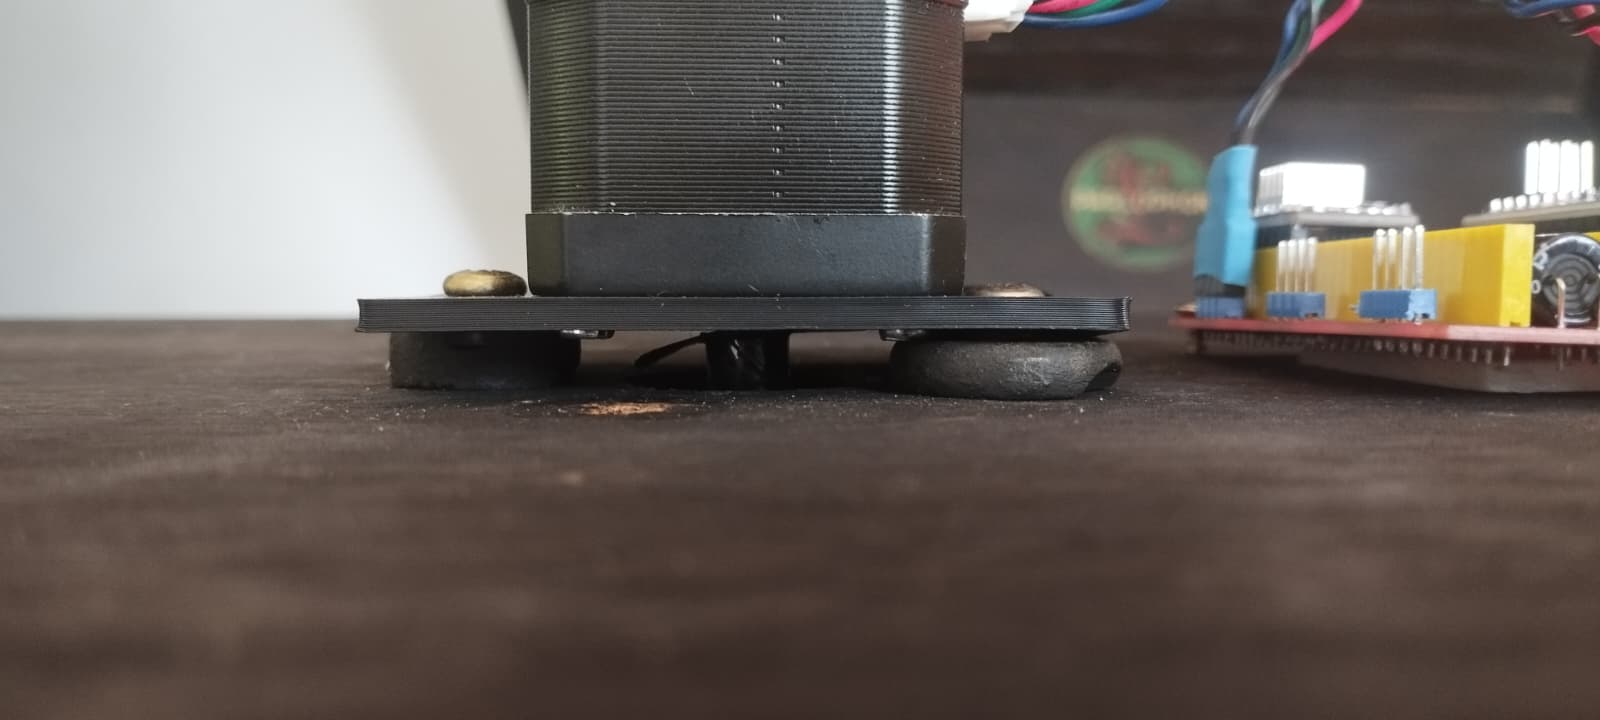
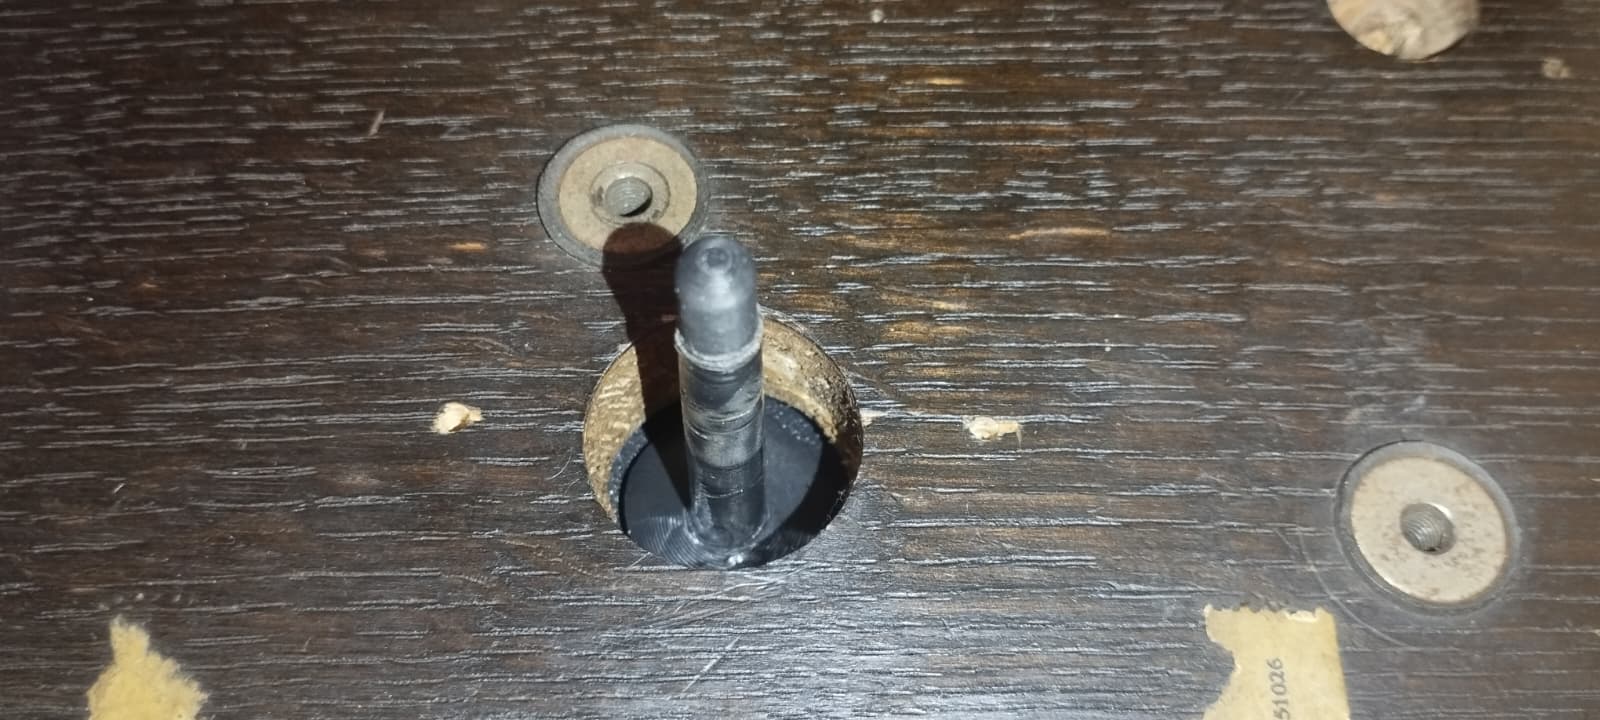
To connect the stepper motor to the turntable, a new spindle rod was designed based on the original one. It is designed to connect directly to the stepper motor axis to form a direct drive system.
Conclusion
This conversion is not a historically correct restoration of a gramophone motor. It is a functional and pragmatic repair that replaces a defective spring motor with an Arduino-controlled stepper drive.
The result keeps the gramophone usable for its original type of record: 78 rpm shellac discs. It removes the need for hand winding, provides a more consistent adjustable speed, and uses readily available components that are easy to understand and modify.
For me, this was the most practical solution. Repairing the original spring motor would have been possible in principle, but the stepper motor conversion was simpler, safer and more accessible with the parts I had available. The project therefore sits somewhere between repair, preservation and technical experimentation: not original, but useful, transparent and reversible enough to keep the gramophone alive.